
Install ViPER4Android on Android Early this year; Google gave Android Q developers preview updates for some of the selected necessary qualities of Android Smartphones. After making ready the beta reports, Google finally pushed out the 10th living stage of Android OS, android 10, in September.
Android 10 is a more polished, fully featured, and security-centric OS account than its persons who had the position before. As an outcome, most smartphone OEMs are attempting to launch the latest Android update to have the necessary quality apparatuses as early as possible.
Table of Contents
Introduction
If you are using Android ten on your smartphone or somewhere near getting the update shortly, this unit may be helpful to you. As you have already read the property right, check out the complete guide if you need to put ViPER4Android in the position of authority ViPER4Android on Android 10 apparatuses. We will provide you with the ViPER4Android overview, download link, and the complete installation steps.
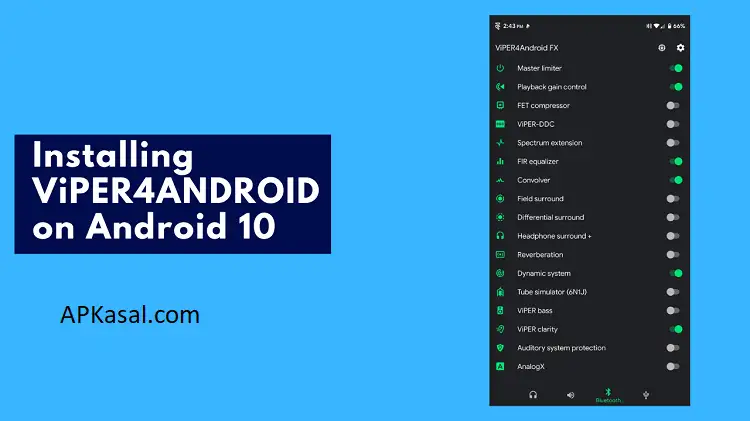
ViPER4Android is among the most widely approved and widely used Sound Equalizers or Mods for Android apparatuses. It offers a system sound made to a person’s needs without any limits or permissions. However, your apparatus should be rooted first to put in and use ViPER4Android on your apparatus. You need the root way in to use this part of a more excellent unit. It is worth saying that the ViPER4Android is a Magisk part of a more excellent unit and can be positioned via Magisk. As an outcome of that,
your android ten running devices should have Magisk installed at first.
Also, check this Install Google Camera On Micromax
What is Magisk?
Magisk is the systemless root process that gives the power to complete the root without acting on the system’s middle part, the heart records of your apparatus. That suggests no security concern, telephone operation, security workings, banking telephone operations, or even Google’s SafetyNet point will not hurt your user experience after rooting.
Pre- Requisites
- Make sure that you must have an Android 10 in your use.
- By using Magisk must root your device first.
- You are allowed to install the latest Magisk.zip and Magisk Manager app for better audio module compatibility.
- Check if the Android ten internal storage is free or not.
- Kindly uninstall the older version of the ViPER4Android Module and also remove the audio modification from the library.
Here are the Steps to install ViPER4Android on Android 10 Devices
- Root your device via Magisk.
- Then, Download the latest ViPER4Android v2.7.1.0 APK file on your device from our site.
- Install the APK on your Android 10 device.
- Now, click on Magisk Manager and go to the Downloads section.
- Please type in the search bar Audio Modification Library module
- Click on the lower icon to download it.
- Click on the Install option to install the Module on your Android 10.
- After installing, it will provide a notification to reboot your device. Do not reboot right now.
- Next, go back to the ViPER4Android app
- Click the OK button to install the required ViPER4Android drivers.
- You need the Superuser permissions to the app when prompted.
- When the installation process is completed, your device will restart automatically.
- Now, Go to the Magisk Manager, click on Modules, and disable the Audio Modification Library.
- Return to the ViPER4Android app now.
- Then do the driver’s installation process again, and your apparatus will reboot again automatically.
- Finally, launch the ViPER4Android app
- Then go back and check whether the drivers are working correctly or not.
- If yes, then you’re done. Enjoy!


